
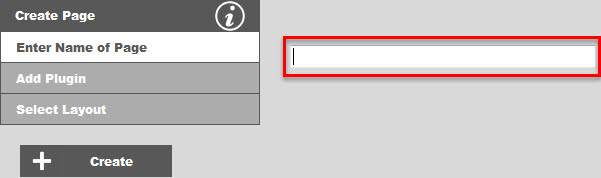
The Create Page console has three selections to choose from. Enter Name of Page is required. The other selections are optional. The Create button will remain disabled until the name of the page has at least one letter or number.
Click on Enter Name of Page and type in the name of the page you want. Note: This name is not the name that is displayed in the menu. You will assign that if and when you add your new page to the menu. This is the name of the file that will be created for your new page. You will look for this name when you want to find your page to make changes. Letters, numbers, underscores and dashes are allowed. All other characters are not allowed. Also, the file extension will automatically be used for the file name, so do not include .html or .php after your page name.
If the page for the page name you entered already exists, then you will see the following warning:
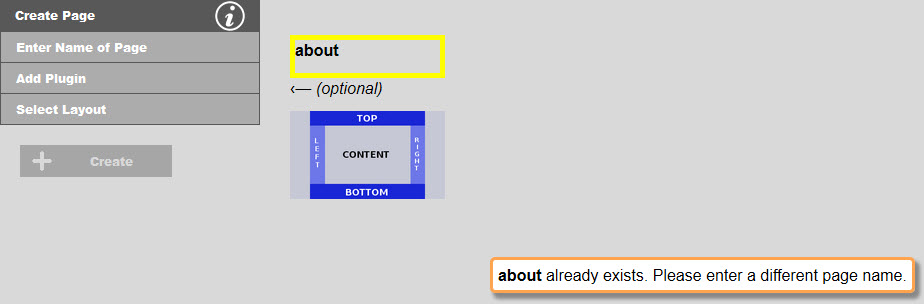
Note: You will not be able to create the page as the Create button has been disabled. Simply click on Enter Name of Page again and enter a different page name.
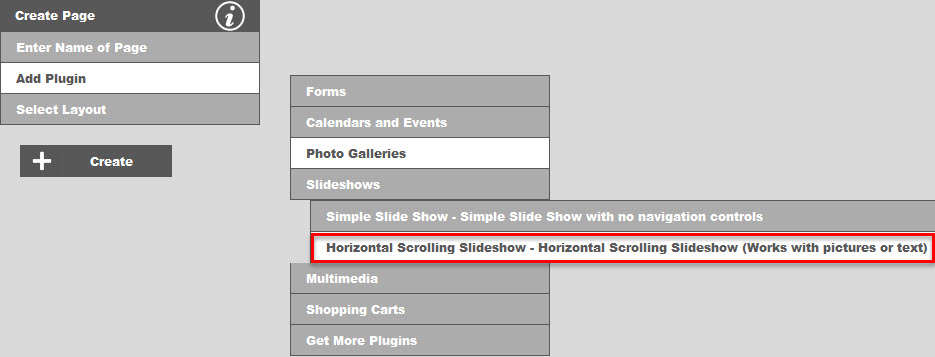
If so desired you may add a plugin to your page. Examples of plugins include events or calendar grids, contact forms, image galleries, and shopping carts. Plugins and grouped into these and other categories. You will need to drill down to the plugin level and select the plugin you want by clicking on the categories. If you have selected a plugin, then decide that you don't want a plugin, click on Clear Plugin to clear your selection.
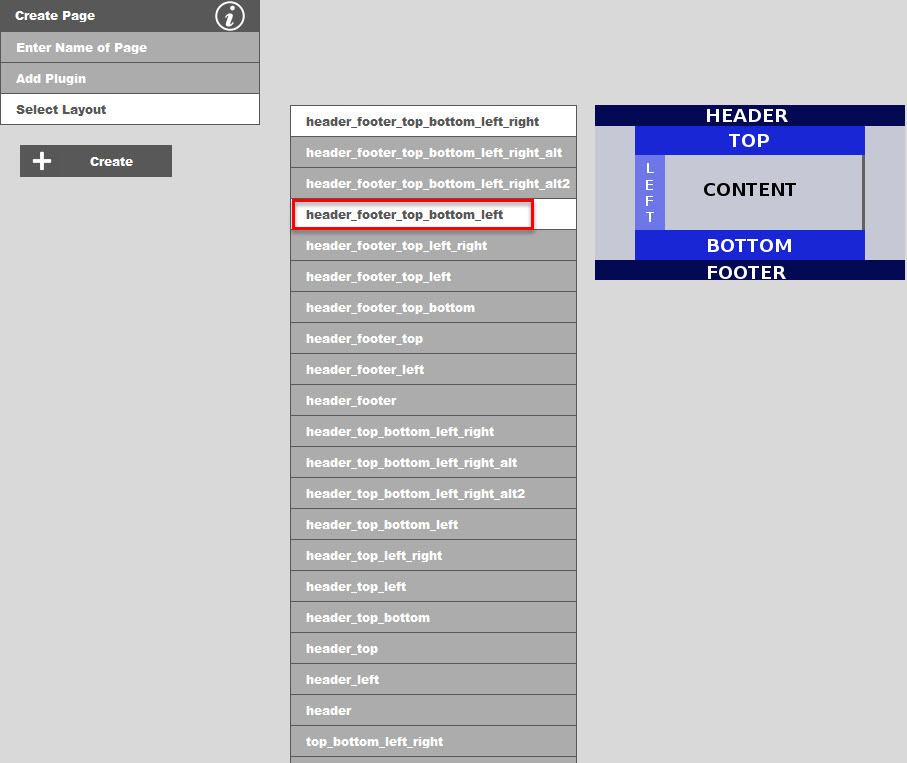
The default layout may be changed under Manage Users and Site Options. You may select a different layout from the list if you choose. A typical reason to do this is to create a splash page that does not use the borders areas that the rest of your site uses. For example, you could select the basic layout which has no border areas, then create your splash page. Note: Your splash page must be named index.php. You will need to rename your home page from index.php to something like home.php.
After you have made your selection(s), the screen will display your selections next to the buttons. The example below shows that the new page will have the name about-us, will include the Horizontal Scrolling Slideshow, and uses a layout that is slight different than the default. (Note that the top and bottom border areas are contained within the left and right areas, whereas the default above has the left and right areas contained within the top and bottom areas.)
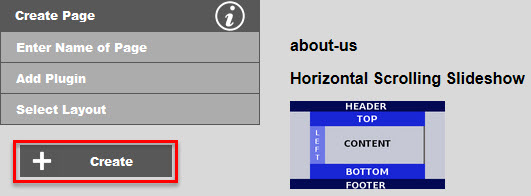
Click Create to cerate your new page. Your page with be created with the page name you entered, and will include any one plugin you may have selected, and will use the default layout, or the one you selected. You will then be taken to the page editor. Click here for information on page editing.
Some plugins are intended to be used as part of a group of plugins. One such plugin is the Contact Mail Form Wit CAPTCHA. With this plugin you will at least need a return page to land on after the person has submitted the form. You may also want to send out an HTML email to this person. Shown below is the Contact Mail Form Wit CAPTCHA being selected also showing these two child plugin pages:
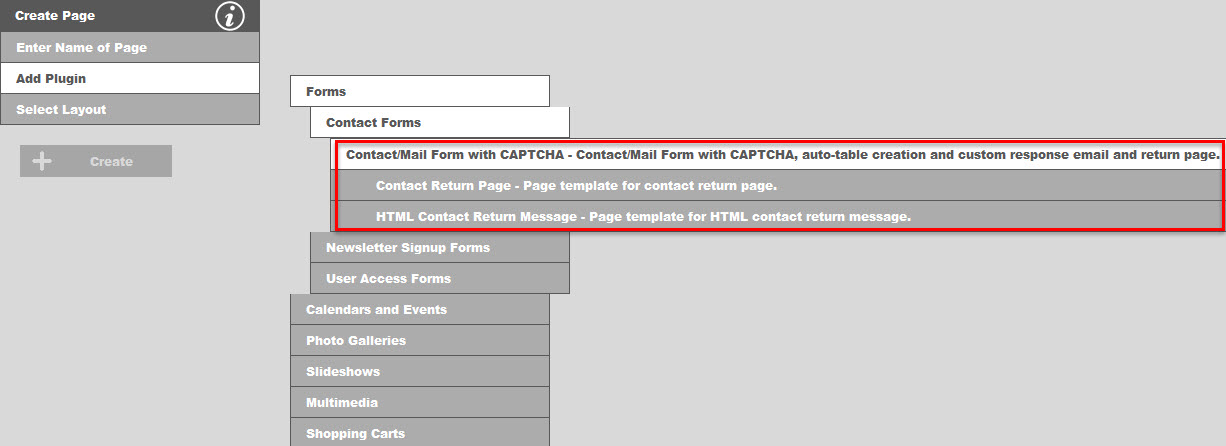
Upon selecting this parent plugin, your screen will look like this:

Each plugin can have a suggested page name. In this case the suggested page name is contact. The suggested page name will only be automatically added to the page name field if it is blank. Otherwise, the name you entered will still be there. You will also see a checkbox that is checked by default labeled Create all plugin pages for this plugin group. The child plugin pages that will be created are listed below. Note that the page names of the child plugins are created by appending pre-defined suffixes to the parent plugin name. For instance, if you had named the parent plugin page "banana", the child plugin pages would be named "banana_return" and "banana_return_message" respectively. If there is a conflict in a child plugin page name with an existing page name, it will automatically have a timestamp appended to the name to avoid the conflict. You will not be able to pick a different name at this point. You would need to rename that page after creating the plugin page group. You may also uncheck the checkbox to create only the parent plugin page. You can then create each child plugin page one at a time. In addition to pre-defined page name suffixes, child plugin pages also have default page names for individually creating these pages. Note that in the case of the Contact Mail Form Wit CAPTCHA plugin, choosing different names for either the parent or the children will require adjusting the values of the hidden fields redirect and html_message_page to match, whereas leaving the default names will work "out-of-the-box". Upon clicking Create with the Create all plugin pages for this plugin group checkbox checked, the child plugin pages will be created with the names displayed, then the parent plugin will be created with the selected name, and you will be taken to the page editor with the parent plugin page for editing. To edit the child plugin pages, you will need to select these pages under Edit Content.