
You may want to edit menu items styles in the event that you want to give each menu item a unique look, i.e. give each menu item a different background color. Fortunately, the menu items editor creates unique classes for each menu item automatically, and the menu generator includes these classes in a span tag around each menu link. To set a style for a menu item, click on Edit Styles in the main menu. Then select the menu items styles sheet for your menu, i.e. CSS Menu 1 Item Styles. You may set background image or color as you wish for each menu item. You may also set rollover images or specify modal background colors by setting the hover class for a particular menu item. Note: There is another step that must be taken in order to get this feature to work: You must set display = list-item as show below for EACH of the items styles you choose to customize (i.e. Home, Home (Hover) and Home (Active)):
If you do not dot this, the built-in styles for the list item used to make the menus behave properly will cause web browsers to ignore your individual item styles.
Example
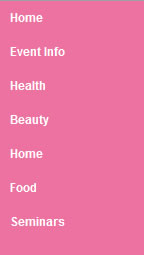
Suppose you want to have different colored menu items in the vertical menu as shown below:
The text was spaced of off the left by 10 pixels so that it is not flush with the left border. This was done under Edit Menu Styles and Assignments --> Edit CSS-Menu Parameters as shown below:

To set a different background color for a certain menu item, select Edit Styles, and then select your menu item style sheet from the list, i.e. CSS Menu 1 Item Styles as shown below:
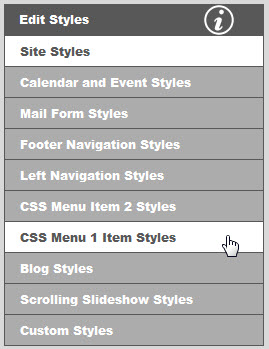
Once the site styles editor opens, select a class for your menu item as shown below:

Then set your background color as shown below. Also set the display to list-item as described above.

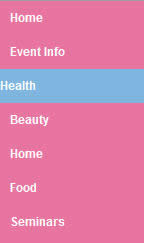
You will see new background color as shown below. You will also notice that the item you changed the background color for is now displaying the text all the way to the left with no padding.
You will of course want to fix this. To do this, first start by using the CSS menu style editor to set the left and right menu padding to 0 as shown below:

Then use the site styles editor to set the left padding for each menu item as shown below:

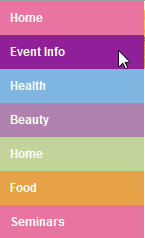
Continue modifying all of your menu items styles for each menu item. You may also set mouse over background colors and active (mouse clicked) background colors for each menu item as well. Remember to set the left padding for the normal (mouse out) style only. It is not necessary to set the left padding for active or mouse over. But you did net to set display to list-item for all styles, normal, mouse over and active. I finished example could look like the menu as shown below:
You can also assign background images to each menu item. An example using the same button image for each menu item is shown below:

Note that this example also shows a mouse-over image. You are not restricted to using the same image with each item. If you wish, you may assign a different background image for each menu item. Simple select the background image for each of the menu items styles, and also select a background image for mouse over and active styles as well if you wish. As with background colors, display must be set to list-style. To set a background image, edit the menu items style sheet and described above and select your button image as shown below:

Note: Typically you will want to set your button image for no repeat and scrolling. Repeat this step for hover and active styles as well if desired.