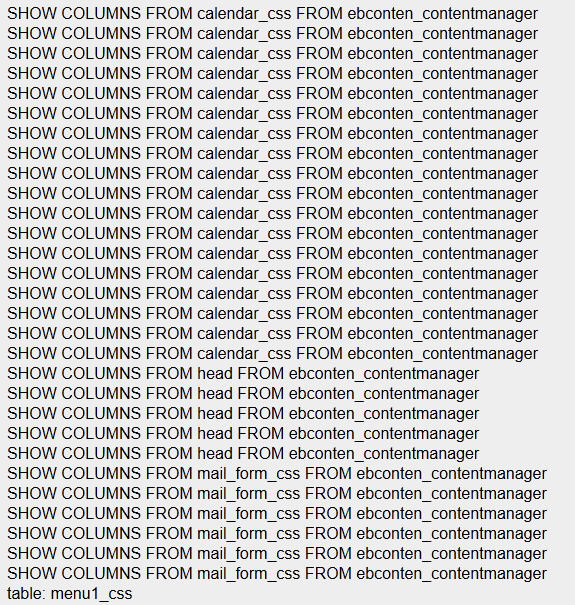
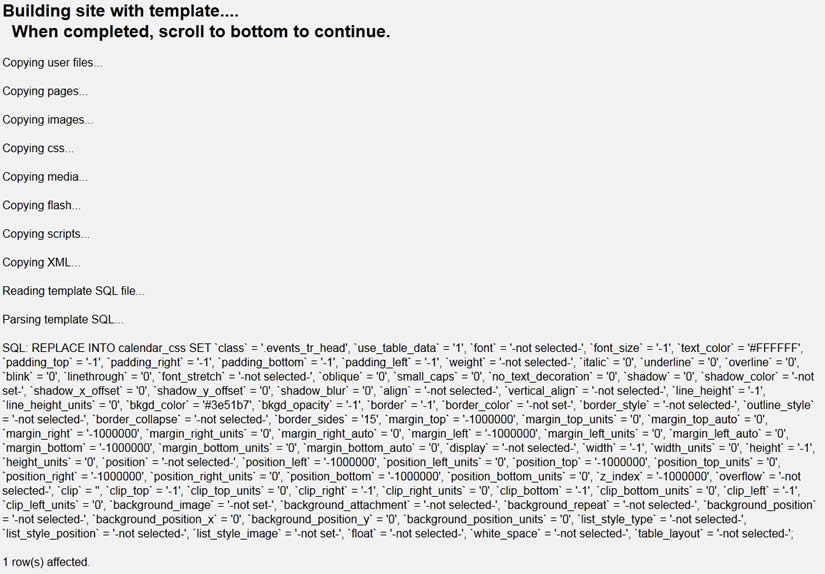
If you are using the wizard in download mode (non-Breeze Website Builder subscribers), then there are a couple of extra steps to get your template installed. First, you will see a lot of output on the screen that most people will find meaningless, but could be useful if you need tech support:
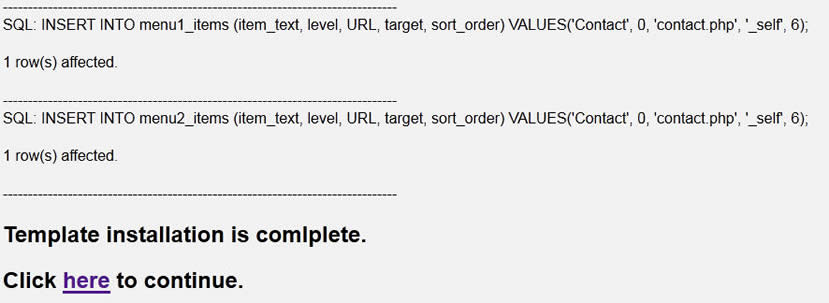
Generally, there is nothing you to do with this information. Scroll down to the bottom of the page and you will see something like this:
Click the link here to download your template. You will be presented with a save dialog:
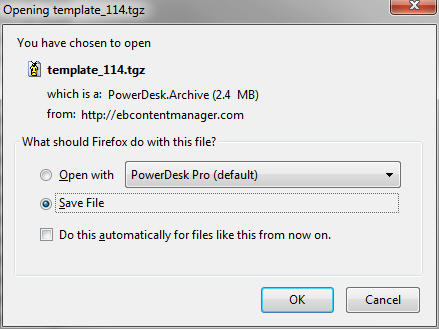
Save the template to your computer. Next log into your Breeze Website Builder management area as described in the Breeze Website Builder Help by going to mywebsite.com/manage where mywebsite.com is your website address. Click on the ![]() button and browse to your freshly downloaded template. You will be presented with the following warning:
button and browse to your freshly downloaded template. You will be presented with the following warning:
![]()
Click yes to continue. Note: This warning is provided because you would not want to inadvertently erase your site content and styles. See the Breeze Website Builder Help for more on how to lock out the Upload Template button after your site is completed.
Next you will see the upload template form:
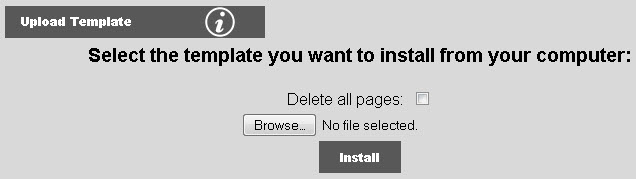
If you want to start completely fresh and delete all of your content, check the Delete all pages checkbox. Otherwise, your content will be preserved (although it is remotely possible that some images may be overwritten and formatting may be lost, thus you should backup your content first). Then browse to your new template file. Then click Upload. You will see the following message:
Uploading template, please wait...
When the import is complete, you will see the following information:
Scroll down to the bottom. At the bottom there is a link as shown below:
Click the here link and you will presented with the option to view and/or edit your website. See the next section for more information.