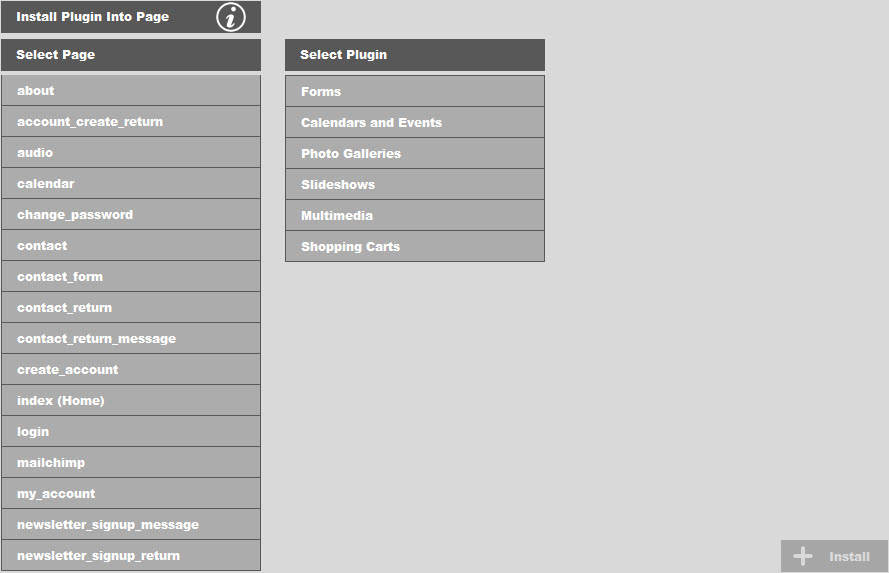
Clicking on the Install Plugin Into Page button show the console below:
Note that the Install button will remain disabled until both a page and a plugin are selected. Only one plugin may be installed at a time, but you may install as many plugins into a page and you want by repeating this process. Note: It is not guaranteed that all plugins will work with each other, but typically there should be no problems. i.e. the events grid and an audio player will work fine together. But adding different types of audio players to the same page could very well cause conflicts with redundant div IDs and duplicate JavaScript functions. If you are a web developer, you probably could figure out how to sort things out in source view in the editor, but remember that plugins can install components into any part of the page (top, left, head, header, etc.), not just the content area. Also, many plugins actually insert PHP code right into the page file which would need to be downloaded and editing in a code editor.
To proceed, start by selecting the page you want to install a plugin into. You will see that a message appears in the console saying which page has been selected.
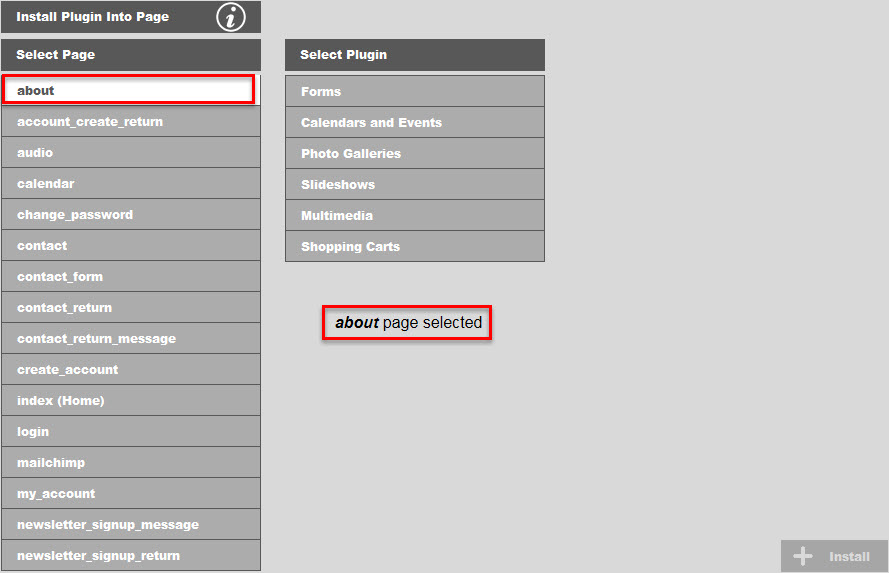
Next, drill down through the plugin categories to find the plugin you want to install and select it. You will see that the selected plugin is display in the console along with the page. You will also see that the Install button has been enabled.

Click Install to install the plugin into your page and the plugin will automatically be installed into your page. You may revise your choices as many times as you like before committing your selections thru the Install button. To cancel, simply navigate to anywhere else in the main menu. Click here to find out more about plugins.