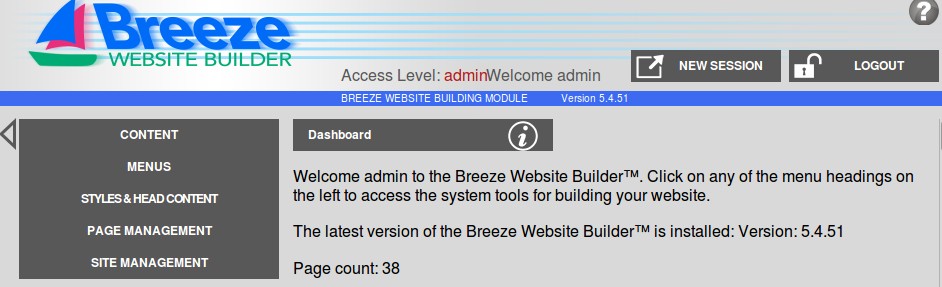
The main menu is the first page that comes up after logging in and is the return page for most other detailed operations. From this menu you can select the operations you wish to perform. Different user access levels will see different selections. Go to managing users to find out more about access levels. The main menu for a admin user access level is shown below:
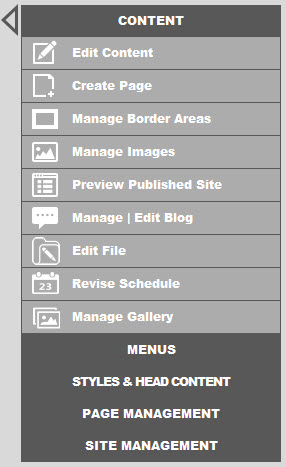
Along the left are the menu option mode buttons. Clicking a button on the left will generally display a different selections on the right related to the option group that has been selected. The exceptions to this are when there is only one option, such as Revise Menu. Clicking Revise Menu takes you directly to the menu items editor.
The left menu option mode buttons are arranged in three groups. The first group includes the most basic selections: Edit Content and See Published Site. It is assumed that these functions are the functions that are expected to be used on an ongoing basis for site maintenance. Re-run Wizard is also included in here for easy access to using the Wizard system to build a site from one of our pre-stored templates. It is automatically disabled after running the wizard, and is not at all available to restricted users.
The next group of option mode buttons are labeledOther Actions and other basic functions that may occur as site maintenance as well. This includes creating new pages, revising menu items, revising the schedule for a calendar or event page, and setting metatags and page names for search engine optimization. If you have installed a shopping cart, the Zen Cart admin area can also be accessed from here. You may need to change the site options to enable this button.
The last group of option mode buttons are labeled Advanced Actions and include operations associated with the setting up of the website. Only power users and admin users have access to this group. These include deleting, copying or renaming pages, setting up styles for the menus or the pages, working on the border areas, and working with the head area (useful for adding JavaScript functions to your pages). You may also manage users and change site options in this group if you login as an admin access-level user.
To find out more about these buttons, click on the links below:
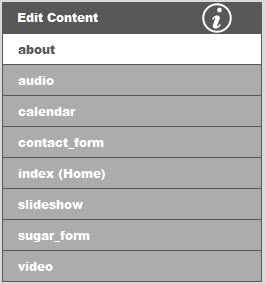
![]() -------- Clicking this button shows the edit-page selection list as shown
below:
-------- Clicking this button shows the edit-page selection list as shown
below:
Click on the page you want to edit. For editing pages see Edit Content
![]() -------- For information on creating pages see Create
Page
-------- For information on creating pages see Create
Page
![]() --------- Opens an new window to a live view of your sites home page.
--------- Opens an new window to a live view of your sites home page.
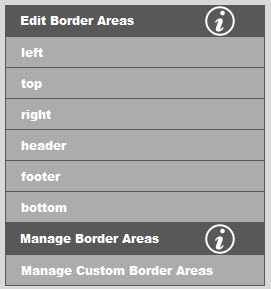
![]() -------- Clicking this button shows the options as shown below:
-------- Clicking this button shows the options as shown below:
For editing border areas see Editing a Page
For managing border areas see Managing Border Areas
![]() --------- Opens file manager for uploading and managing images. For more
information on managing images see Edit
Content
--------- Opens file manager for uploading and managing images. For more
information on managing images see Edit
Content
![]() --------- Opens home page of published site in work area.
--------- Opens home page of published site in work area.
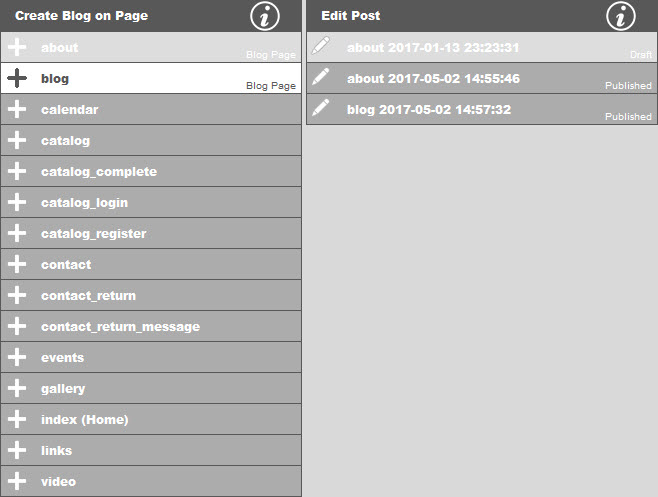
![]() --------- Clicking this button shows the options as shown below:
--------- Clicking this button shows the options as shown below:
For creating or editing blogs, see Blogging
![]() ----------- This button exists only for admin users. Clicking this button shows the edit-file selection list as shown
below:
----------- This button exists only for admin users. Clicking this button shows the edit-file selection list as shown
below:
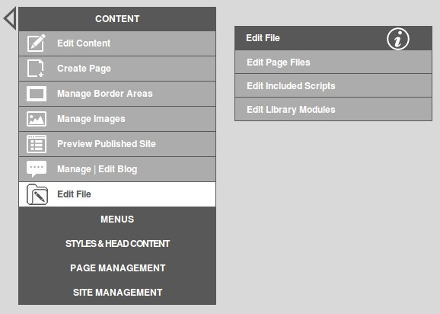
For more information on editing files, see Editing Files
The remaining buttons for Revise Schedule and Manage Gallery shown above appear only after installing the analogous plugins for these consoles. See Plugins for more information on plugins.
![]() -------- For revising the schedule for calendars and event grids see Revise Schedule
-------- For revising the schedule for calendars and event grids see Revise Schedule
![]() -------- For managing gallery see Plugins
-------- For managing gallery see Plugins
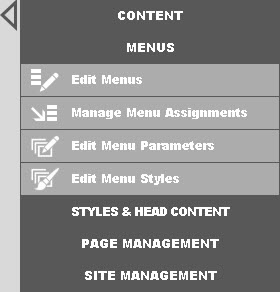
![]() -------- For revising menu items see Revise
Menu
-------- For revising menu items see Revise
Menu
![]() -------- For managing CSS menu assignments see Managing
Menu Assignments
-------- For managing CSS menu assignments see Managing
Menu Assignments
![]() -------- For
editing CSS menu parameters see Editing
Menu Parameters
-------- For
editing CSS menu parameters see Editing
Menu Parameters
![]() --------- For editing CSS menu styles see Editing Menu Styles
--------- For editing CSS menu styles see Editing Menu Styles
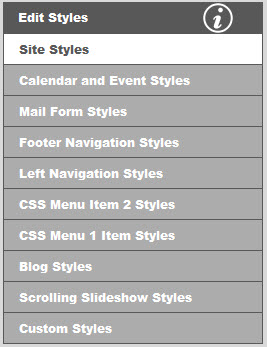
![]() -------- Clicking this button shows the options as shown below:
-------- Clicking this button shows the options as shown below:
For all styles except custom see Editing CSS
For custom styles see Editing Custom CSS
------- For information on coping styles sheets between desktop, mobile or touchscreen see Setting Up Site for Mobile.
Note: Menu 1 Styles, Menu 2 Styles, etc. are not intended to be edited using this editor by anybody other then web design experts. Use the appropriate menu setup tools as referred to below for changes menu style and position.
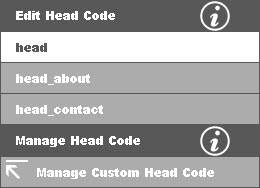
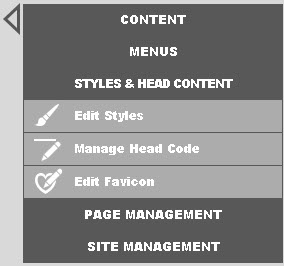
![]() -------- Clicking this button display the edit head select console as shown below:
-------- Clicking this button display the edit head select console as shown below:
Under Edit Head Code is a list of head content to edit. Simply click on any of the heads to start editing. For editing head content see Editing Head Content
Under Manage Head Code is the Manage Head Code button as shown below:
Clicking this button opens the head management console. For managing head content see Managing Head Content
![]() -------- For uploading
favicon see Uploading
Favicon Icon
-------- For uploading
favicon see Uploading
Favicon Icon
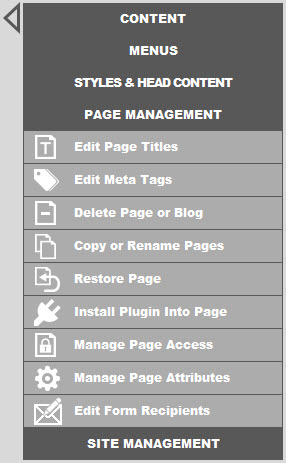
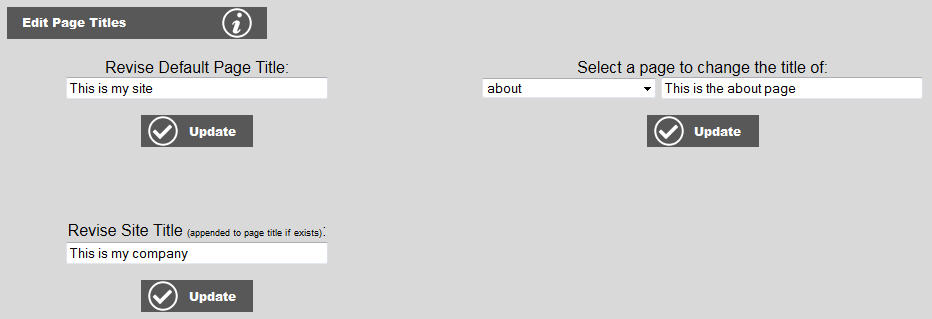
![]() ------- Clicking this button shows the options as shown below:
------- Clicking this button shows the options as shown below:
For editing page titles see Editing Page Titles
![]() ------- For editing meta tags see Editing
Meta
Tags
------- For editing meta tags see Editing
Meta
Tags
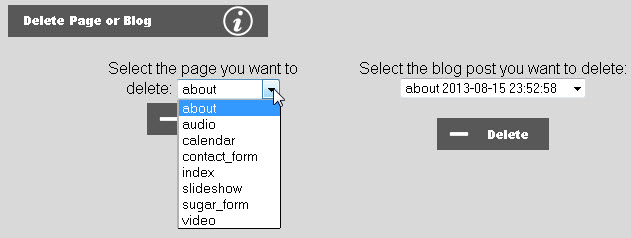
![]() ------- Clicking this button shows the options as shown below:
------- Clicking this button shows the options as shown below:
To delete a page, simply select a page you want to delete and click Delete.
To delete a blog posting, simply select a posting you want to delete and click Delete.
![]() ------- For copying or renaming pages see Copy
or Rename Page
------- For copying or renaming pages see Copy
or Rename Page
![]() ------- For restoring pages see Restoring
Pages
------- For restoring pages see Restoring
Pages
![]() ------- For intalling a plugin into a page, see Installing
a Plugin Into a Page
------- For intalling a plugin into a page, see Installing
a Plugin Into a Page
![]() -------- For managing page access, see Manage
Restricted Pages and Website Users
-------- For managing page access, see Manage
Restricted Pages and Website Users
![]() ------- For managing page attributes, see Managing Page Attributes
------- For managing page attributes, see Managing Page Attributes
The remaining button for Edit Form Recipients shown above appears only after installing the analogous plugin for this console. See Plugins for more information on plugins.
![]() -------- For editing for recipients see Plugins
-------- For editing for recipients see Plugins
![]() -------- For managing the Zen Shopping Cart see
Manage Zen Cart
-------- For managing the Zen Shopping Cart see
Manage Zen Cart
![]()
![]() -------- For uploading templates or running the template wizard, see Re-Run Wizard/Upload Template
-------- For uploading templates or running the template wizard, see Re-Run Wizard/Upload Template
![]() -------- For managing file minification. See Minify Files
-------- For managing file minification. See Minify Files
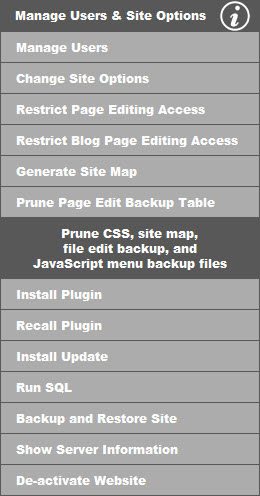
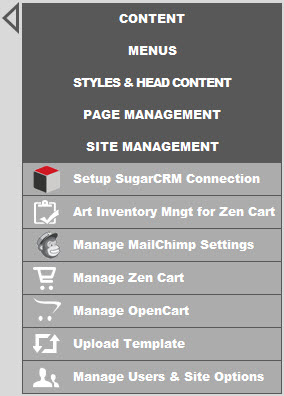
![]() -------- Clicking this button shows the options as shown below:
-------- Clicking this button shows the options as shown below:
For more information on these admin functions, see Manage Users & Site Options
Setup SugarCRM Connection, Art Inventory Mngnt for Zen Cart, Manage MailChimp Settings, Manage Zen Cart and Manage OpenCart only appear after installing the analogous plugin for these consoles. See Plugins for more information on plugins. For more information on these plugins and to purchase and download, see http://breezewebsitebuilder.com/plugins.php